Regular readers will know how much I love my standing desk. Not only does it have long term health benefits (Standing at Attention) but my back is coping better during those marathon writing sessions.
Last month I promised a detailed post on my standing desk. It does not have to be expensive. Let me talk you through how mine was created. It all started with this – a fortuitous find via Freecycle. Yes, it was free. I just had to pick it up (which was not a straight forward assignment).
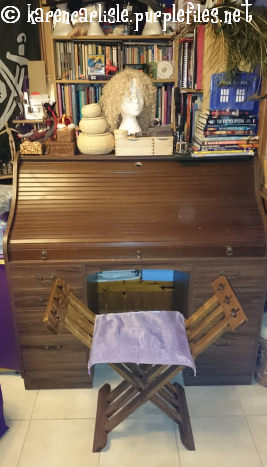 When I started writing full time, I found my back complained about the longer hours sitting (even with a really comfortable modern office chair). Research followed; it seemed a standing desk was the answer. There were some gorgeous ones . But the cost! Buying a purpose built standing desk was impractical (plus I did not want to lose my roll top).
Then I found the IKEA hack sites. I decided to do some hacking of my own. It was simple. It was cheap. Here is how I did it.
1. Take measurements. You will need to know the height of your elbows from the floor to give the desk height. If you intend to incorporate your computer, you will also need to work out where the screen will sit. There are several internet sites that give detailed diagrams and discussions on various measurements. MayoClinic, Ikea Hack, Canadian Centre for Occupations Health and Safety. Check them out. Ergonomics is important.
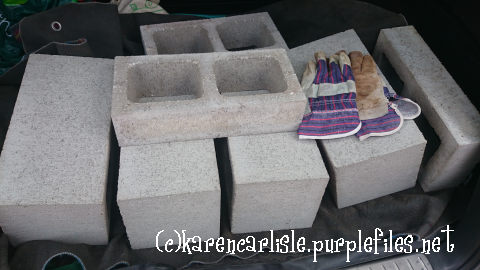
2. Buy some besser blocks from a garden centre (or hardware store). I needed to raise my desk by 30 centimetres – this equated to 1 and a half besser blocks. Total cost A$40.
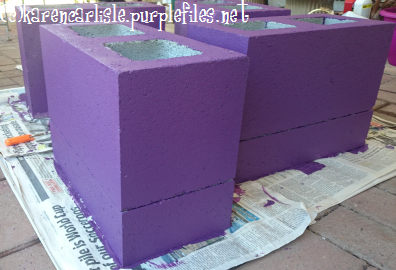
3. I painted mine. I get dust allergies. Besser blocks get dusty. No brainer, really. Plus I had paint left over from the lounge renovation, a few years ago, and purple is my favourite colour.
4. Liquid nails to glue felt remnants to the top and bottom of the blocks. I did not want to scrape the tiles or damage my roll top desk.
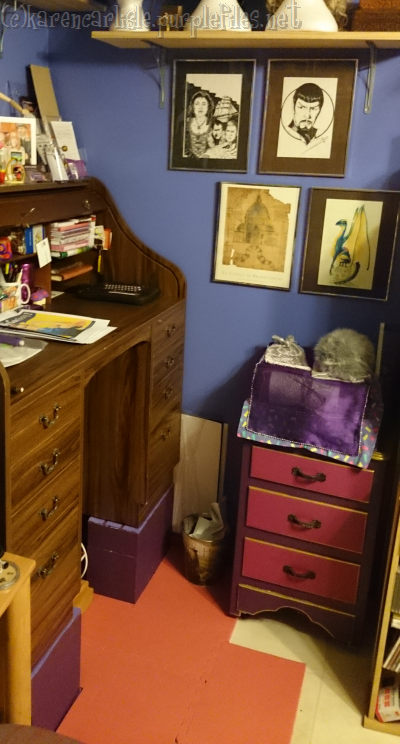
5. Position blocks to fit under the desk. I had to position the blocks so they would allow the desk to hang over the edge (by about 5 millimetres) as the total length of the rearranged furniture was only about 1 centimetre smaller than the wall span. Remember the old costumer’s and carpenter’s rule of measure twice, cut once? I measured this three times. That desk is heavy (we had to get a friend to help lift it). I was not going to do this a second time.
6. Lift the desk onto the blocks. I did not have to worry about standard table legs. This would have made this more complicated.
Voila! One standing desk.
Voila! One standing desk.
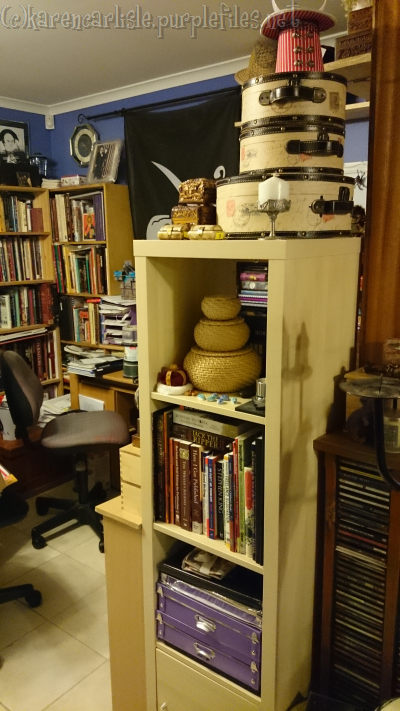
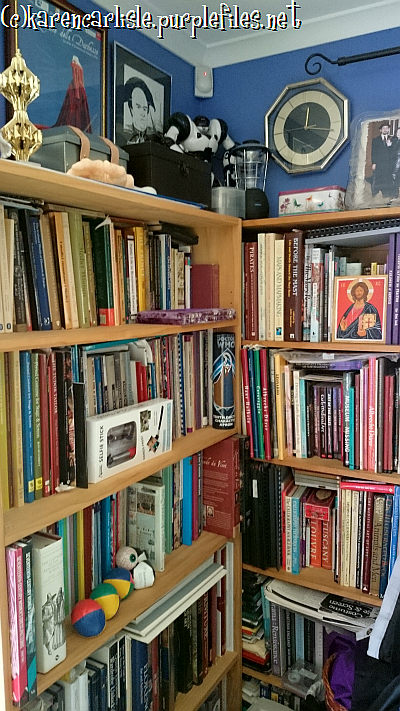
7. To complete my writing area, I added an IKEA shelf for some of my writing books. I painted a second hand pine bedside table (in matching colours of course – also obtained via Freecycle), to store my writing and drawing paraphenalia. The furniture was rearranged so I regained my bookshelves. We have about thirteen in the house; these are my personal research books.
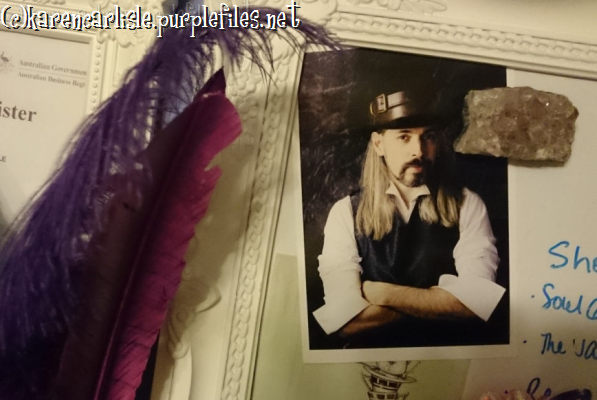
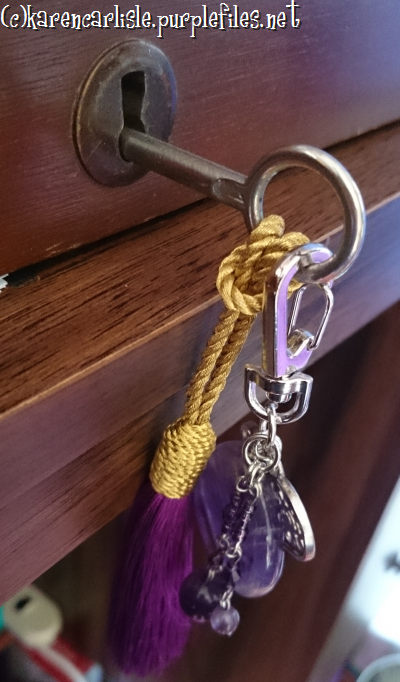
My latest additions to my writing area: A photo of my Dearheart to keep me company, and a trinket he gave me for Valentine’s Day, specifically for my writing desk.
This is my writing cave, my sanctuary. What does your sanctuary look like?
With a Bit of Ingenuity - A Roll Top Desk Hack


No comments:
Post a Comment