Earlier this year I scored some material on Freecyle (a local group who giveaway unwanted items so they can be recycled or reused), including brown cotton and blue polycotton offcuts. I was inspired to create a new steampunk outfit, loosely based on the character of Lara Croft. As usual, I left it til the last week to put my plan into action - for this year's Time Travellers' picnic.
The brown material seemed to be the remnants of an old sheet, left over from someone's project - wide enough to make a ruffle skirt (which would provide better circulation, hence much cooler than a pair of bloomers for a summer's afternoon). The blue cotton consisted of just under 5 metres of 48 cm wide offcuts - just wide enough to cut out waistcoat pieces.
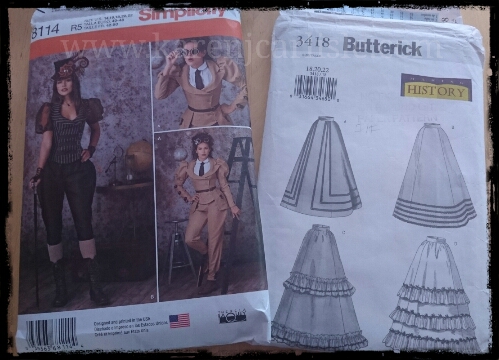
To save time, I fished out a pattern I adapted for a previous project, and one I bought at the last Spotlight sale:
- Butteric 3418 (skirt)
- Simplicity 8114 (to make the waistcoat)
I use bought patterns as a starting point when time is short, using them as a sloper to adapt into something new. For this outfit I wanted a sleeveless waistcoat and a ruffled skirt with an uneven hem (longer at back).
Waistcoat:
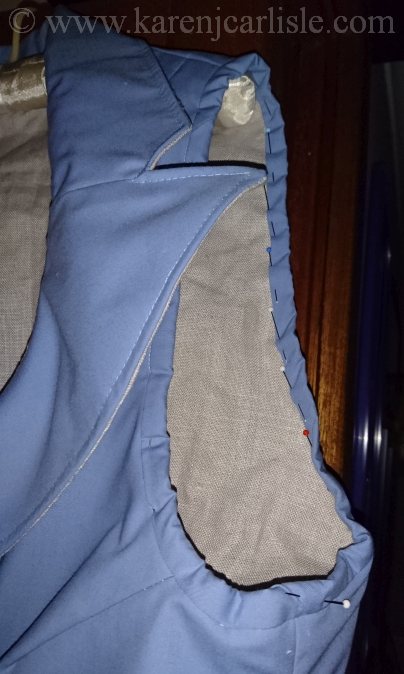
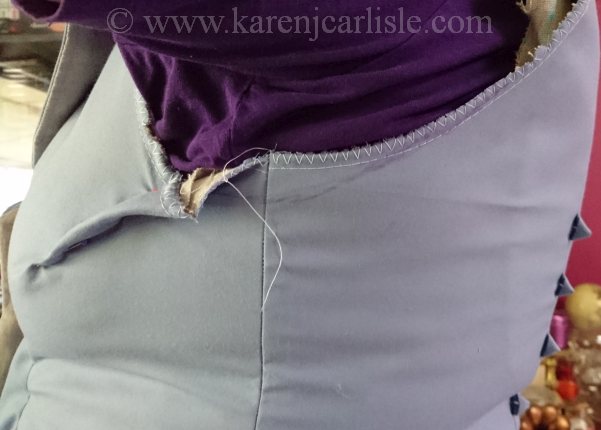 I ignored the sleeves and used the basic waistcoat pattern as a toile, reshaping and trimming back the armholes and adding a dart to make it more fitted (with some help from a friend to reach under the arms).
I used cotton duck (in my cupboard stash) for the interlining. Cotton breathes and is cooler than synthetic iron-on interlining.
The pattern suggested plastic boning. I used 6mm metal spiral boning for the front and back side seams, and 10mm metal spiral boning for the side seams. I find this lasts better and gives better support (plus I had most of it in my cupboard).
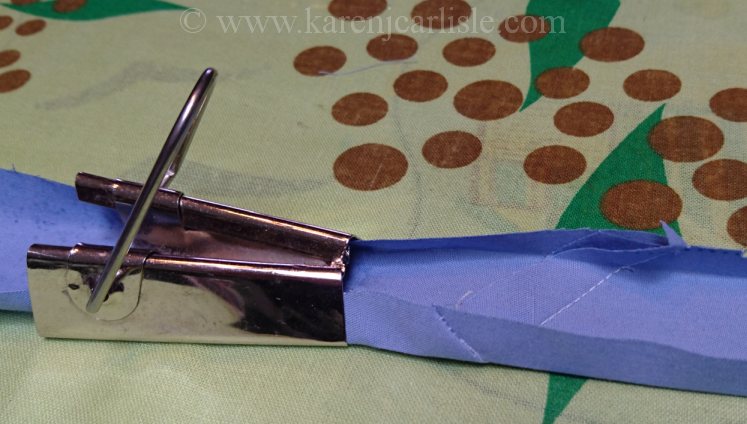
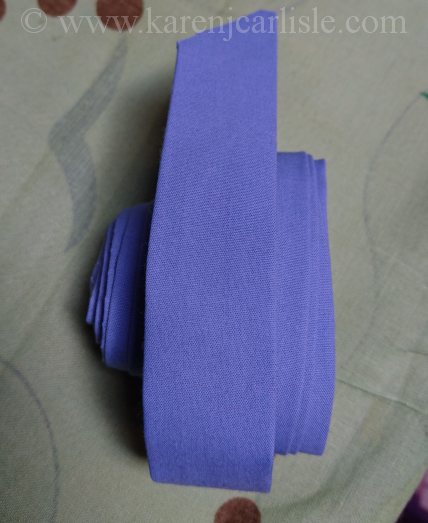
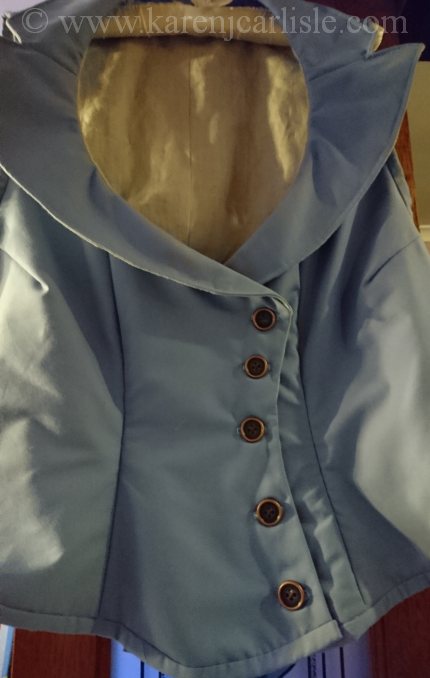
There was just enough material to include all the body pieces and make a matching bias binding. (2) Phew!
I added brass-look buttons to give a more steampunky feel. (3)
I added brass-look buttons to give a more steampunky feel. (3)
(2) Making bias:
(3) Bias edging and buttons to finish off.
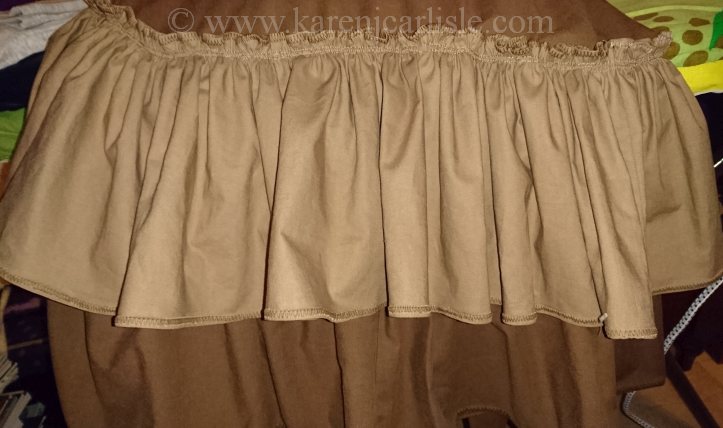
Skirt:
I wanted a shorter look to this skirt (to keep it cool to wear and reminiscent of Lara's shorts). The front hem was raised to the knee and the back raised a few inches, with the hemline curved to join up. I managed to eek the lower ruffle from the original material. But I wanted a flirtier look to the skirt - a second ruffle. I purchased 1.5 metres of complimenting polycotton and added a second ruffle. The edges were zigzagged in contrasting cotton for decoration.
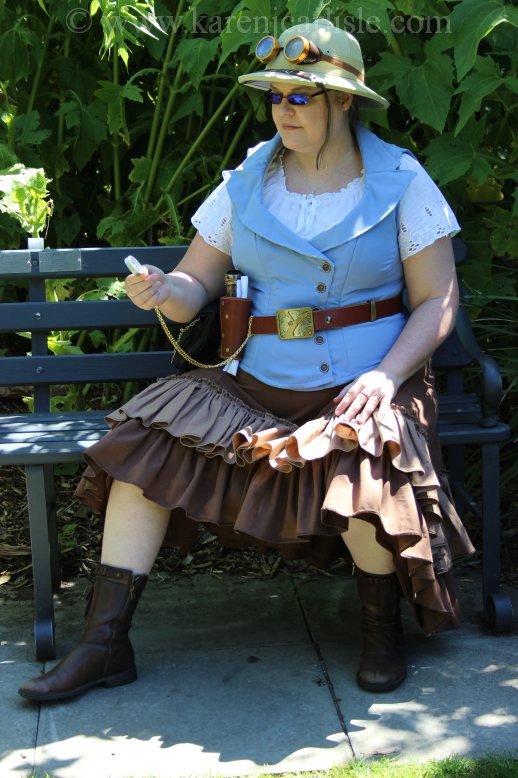
Summary:
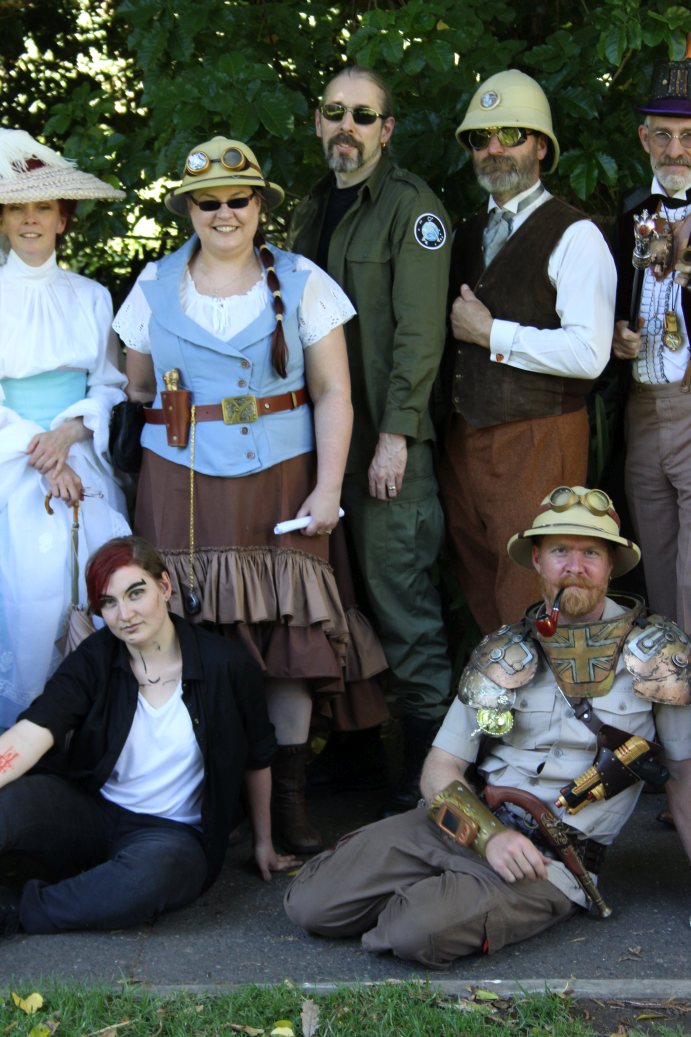
My new steampunk outfit had it's debut at The Time Travellers' Picnic last Sunday - consisting of a double-ruffled skirt and blue, boned waistcoat/bodice. This was inspired by a 'Freecycle' stash of material I obtained - with blue and brown cotton-blend material. All I had to buy were buttons, some extra metal spiral boning pieces and some buttons. Total cost just under $30 (mostly for the buttons).
Photos:©2016 Karen J Carlisle/ David Carlisle.
Group photo: ©2016 Neil Swaddling.
All Rights Reserved.
Group photo: ©2016 Neil Swaddling.
All Rights Reserved.
No comments:
Post a Comment